Consumables
Intelligent surface inspection detects defects

Tuesday 19. March 2024 - The Karlsruhe Institute of Technology KIT has developed a process that automatically evaluates the surface conditions of objects using video images, neural networks and machine learning. Intelligent surface inspection can help to improve defect testing.
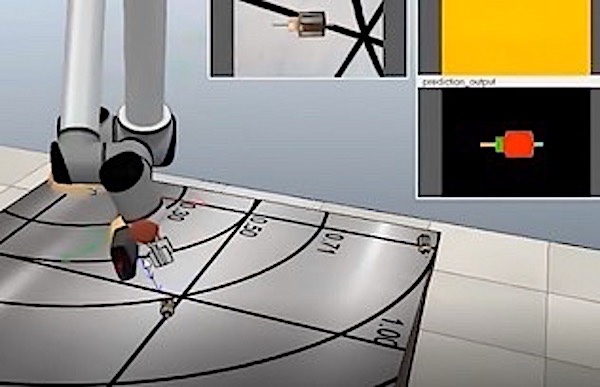
In order to reuse components, such as those of an engine, their condition must be analyzed in detail. Only a precise inspection of the surface and condition will reveal whether the component can be used again. In times of scarce raw materials, the efficient performance of such analyses is becoming increasingly important. Until now, it has been common practice to compare individual images or images from line scan cameras with a known, intact image of the object to be analyzed, often a 3D (CAD) model. This procedure places high demands on the calibration and requires the position of the component in space to be known. If the object deviates slightly from the model, for example because it is a different version or a component with signs of wear, there is no usable resultResearchers at the Institute of Industrial Information Technology (IIIT) at KIT have now developed a method that analyzes objects based on video data and machine learning. Based on previous inspections, a suitable trajectory is automatically determined for the moving camera so that the relevant object areas are clearly visible. In physics, a trajectory is the course of a space curve along which a body or point moves. The industrial 3D camera moves around the illuminated object on such a space curve and captures it as a video stream. The use of a drone is also conceivable for larger objects. A 2D representation of the surface is created from the video data. A trained neural network is familiar with different designs and states, enabling it to analyze large variances of models and states of a component in real time. The system works with two resolutions for acceleration: In the low resolution, the relevant surface areas are recognized. These are then inspected for defects using high-resolution images.
The automatic, intelligent optical visual inspection makes it possible to efficiently analyze components with a large variance of model characteristics and states. The use of video data ensures efficiency and reduced susceptibility to errors, as the relevant surfaces are viewed together and not as individual images. The method therefore works independently of the position of the objects in relation to the camera.
